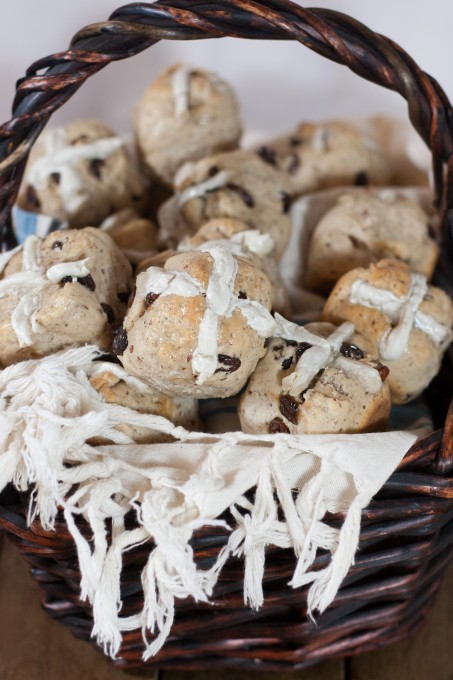
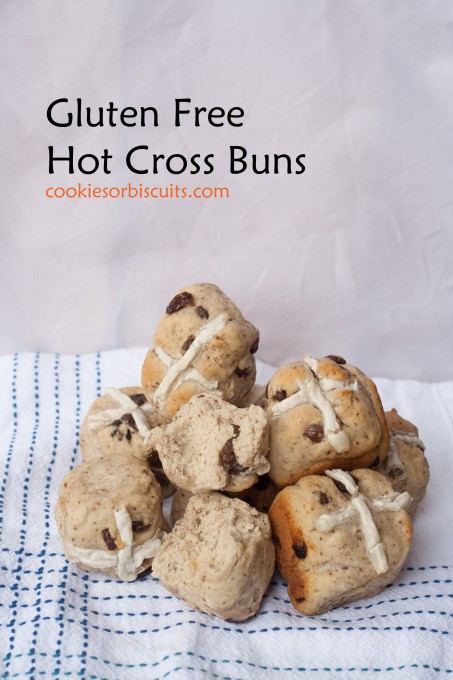
My daughter has been singing “Hot Cross Buns” for the past 3 days. That’s because I’ve been living, breathing and talking Hot Cross Buns for that long and she always manages to turn words into songs. I think she got that from her mother! I’ve been tweaking my Hot Cross Buns recipe and I think I now have the most awesome Gluten Free Hot Cross Buns. I am not the one in our household who needs to eat gluten free, and even I, as a wheat consumer, like these buns. For me, that is the true test of a good gluten free food.
Hot Cross Buns are traditionally eaten during Lent, although many people only eat them on Good Friday. I love some of the superstitions surrounding Hot Cross Buns. My favorite is that if you share a Hot Cross Bun it will ensure friendship throughout the coming year. I must make sure to share one with my love! That is, share one single Hot Cross Bun, and not the whole batch. We do pretty well at that second one!
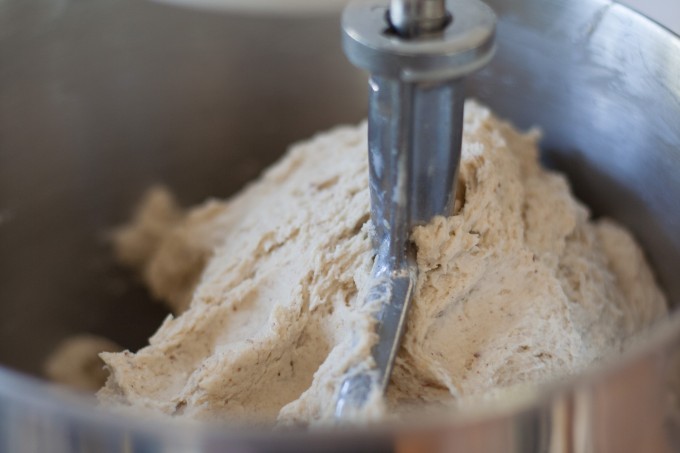
Cooking with gluten free flours is totally different from cooking with wheat flours. Gluten Free flours don’t need to be kneaded, so that cuts down on quite a bit of time. (If you’ve just started working with Gluten Free flours, it’s great to to find something positive!). The dough is also different – don’t expect the dough to look like wheat dough. It’s stickier than wheat, but that’s OK. Trust me, it will still work out!
A standing electric mixer is essential for making these buns. You don’t need the dough hook though – just the standard Y shaped, flat beater is all you need. All the dry ingredients go into the mixing bowl, including the yeast. I use Active Dry Yeast, so it doesn’t need proofing. Don’t skip on the spices. The blend of spices are what make Hot Cross Buns so unique. I just love taking a deep breath when I’m mixing my dry ingredients – it’s so fragrant and earthy at the same time. Warm up the milk, until it is about 100°F. Add the milk and start beating. The eggs are added next. Then you keep beating, and beating and beating. Finally the raisins are added. You can either mix them in using the electric mixer or by hand.
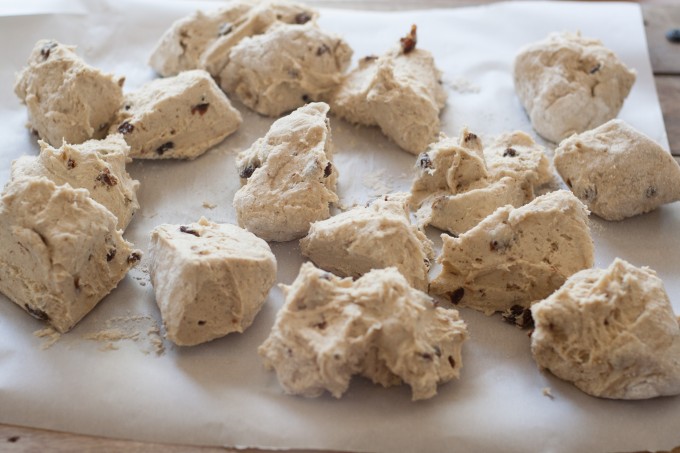
Turn the dough out onto a floured surface: I just use a piece of parchment paper. Form a large ball, then cut the ball into sixteen pieces.
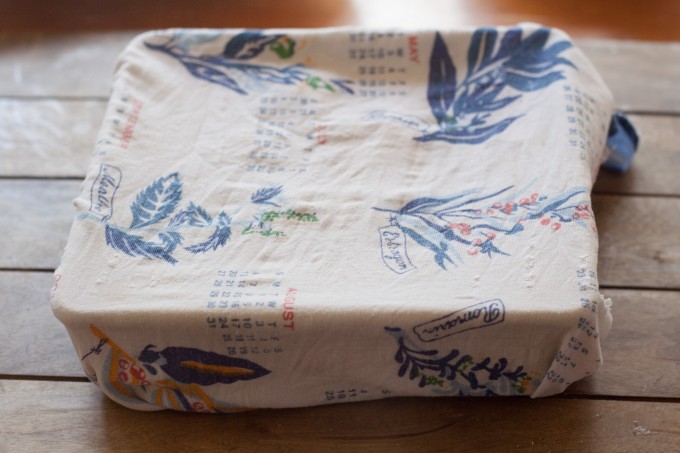
Place the balls of dough into a greased square baking tin. Next, the buns are going to need proofing. To do this, you need a draft-free, warm, humid environment. My oven has a proof setting. It creates the warm environment. I then place a slightly damp tea towel over the dough to create the humidity. I have an old tea towel which is perfect for this job. Back in Australia, I never had to worry about the oven. It was always hot enough at Easter time that you could leave the buns on the counter to proof. But for Seattle weather, I love my oven. If you cook bread often enough, and it’s in your budget range, I have also heard good reports about proofing ovens. For the cheapest option, you can use your microwave. Boil a cup of water in the microwave or a heat a wet sponge for 1 minute, then put the dough in the microwave to proof.
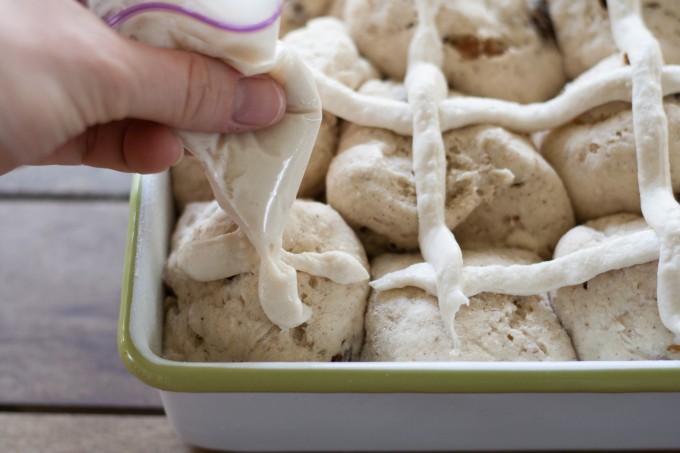
The dough will not rise as much as wheat flour, but you should expect to see some rising. I usually let my Hot Cross Buns proof for about 90 minutes but go by sight not time. Your environment will determine how long the dough needs to rise. The colder it is, the longer the dough needs to rise. You can even proof dough overnight in the refrigerator – the cold environment just means that it’s going to take a long time! Towards the end of the rising, you can prepare the dough for making the cross. Mix equal parts water and flour in a small bowl. Spoon the paste into either a piping bag or a small Ziplock bag with the end cut off. Now is also the time to get the oven really hot. You need the oven to be around 400°F.
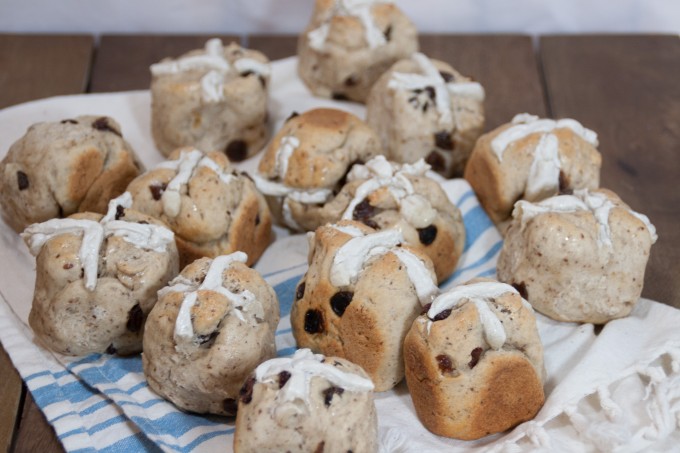
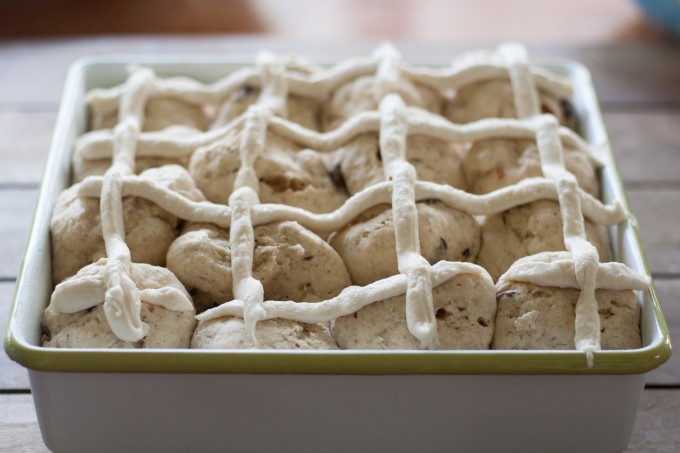
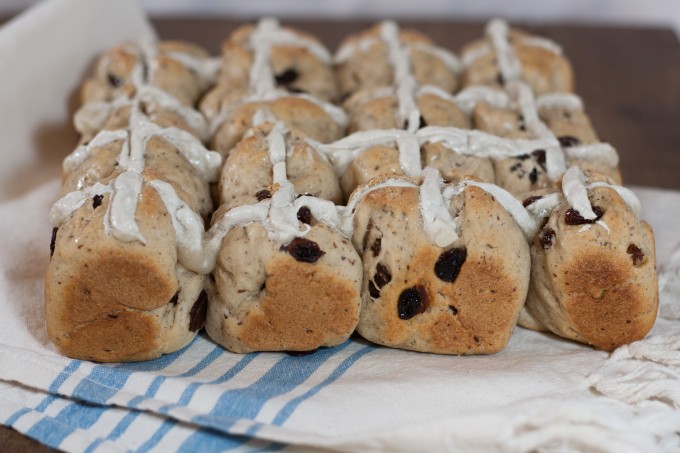
One thing that I discovered with gluten free buns is that the cross doesn’t sink into the dough like on wheat buns. While it isn’t perfect, I found that by cutting a cross into the risen dough, you get an effect that is closer to traditional Hot Cross Buns. It’s really not essential, but it’s something you might like to play around with if you want a more authentic look. Pipe the crosses onto the dough by piping lines the whole way across the baking pan.
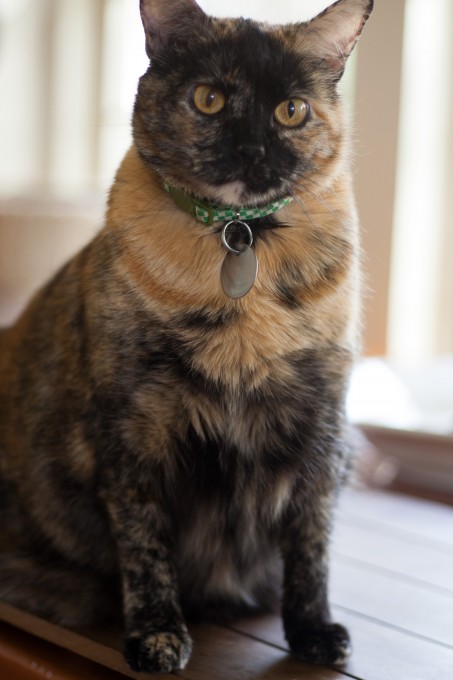
Now, the buns are ready for the oven. Just after mine went into the oven, one of my cats decided to check out my photography area. She’s about to be 9 years old and is such a sweet tempered old lady, except when our other cat is around. It’s rare to hear her not purring and she loves people. She is mostly blind in one eye but that doesn’t stop her doing anything!
20 minutes later, and your Hot Cross Buns are nearly ready. The final step in making Hot Cross Buns is to glaze the buns. This is a simple mixture of milk and sugar. Boil the milk and sugar for about 1 minute, then use a pastry brush to cover the buns with the glaze.
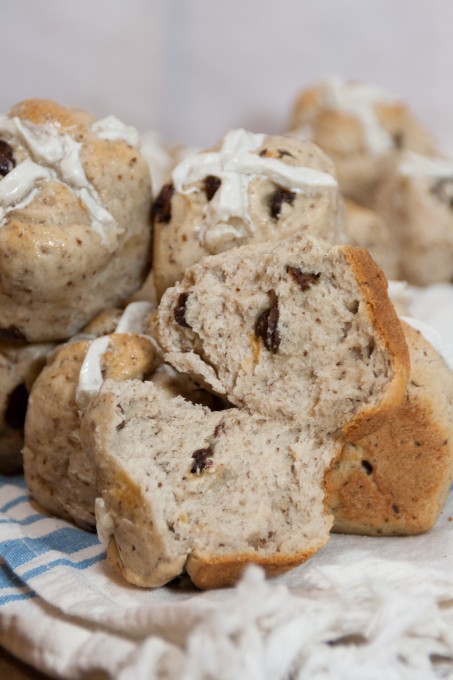
Now it’s time to eat the best gluten free Hot Cross buns. Look at that texture! Getting the texture right on gluten free food is important to me. Sometimes gluten free foods have grainy texture, using due to the high use of rice flour. I love Namaste Foods Gluten Free Perfect Flour Blend as I think it helps with avoiding that graininess. Remember – it’s much cheaper at Costco than on Amazon! I have also started using Flaxseed meal a lot more and am loving it. It adds fiber to your flour and I think it might be helping with the texture. One thing I would like to note here: I have used a mixture of weights and cup measurements for this recipe. Hopefully the weight measurement will help you if you need to use a different flour blend or want to create your own flour blend, as different flours have different weights so the cup measurement may not work for your flours.
Serve Hot Cross Buns while they are still warm – because that’s how they are traditionally eaten plus like many gluten free foods they taste the best while warm (although I think they taste good cold too!) They freeze really well so if you are not going to eat them in one sitting, pop them in a Ziplock bag and place them in the freezer. Reheat the bun in the microwave for about 30 seconds.
This recipe has been heavily adapted from the Australian Women’s Weekly Cooking Class Cookbook – one of my old faithful cookbooks. I also must acknowledge Gluten Free on a Shoestring It was from this website that I learned the trick of cutting the crosses into the buns and the art of mixing the gluten free flours. It’s also an awesome website to check out for gluten free foods!
Happy Easter!
- 4 cups plain gluten free flour (700g of Namaste Gluten Free Perfect Flour Blend)
- 2 tablespoons flaxseed meal (16g)
- ¼ cup sugar
- ½ teaspoon cinnamon
- ¼ teaspoon nutmeg
- ¼ teaspoon allspice
- ¼ teaspoon ginger
- ¼ teaspoon ground cloves
- 4 tablespoons butter (50g)
- 1 envelope Active Dry Yeast – 2 teaspoons or 7g
- 1 ¾ cups milk, warmed
- 2 eggs
- ¾ cup raisins
- 4 tablespoons plain flour
- 4 tablespoons water
- 4 tablespoons milk
- 2 tablespoons bakers sugar
- Grease a large square baking pan with butter.
- In a large standing electric mixing bowl, combine the flour, flaxseed meal, sugar, cinnamon, nutmeg, allspice, ginger and ground cloves.
- Add the butter, then using your hands, rub the butter through the flour mixture until it resembles fine breadcrumbs.
- Add the dry yeast and mix into the flour blend.
- Add the warmed milk to the flour blend and turn the mixer onto a low speed. Add the eggs, then increase the speed to medium-high. Beat the mixture for 6 minutes.
- Turn off the electric mixer and add the raisins. Beat the dough for another 1-2 minutes or until the raisins are well distributed.
- Turn the dough out onto a floured surface and form a large ball. No kneading is required.
- Divide the ball into 16 equal balls.
- Cover the baking pan with a damp tea towel and leave in a warm, humid location to proof. The time it takes to proof will depend on your environment. It can take from about 1-2 hours. You want to see some rising occur, but only about 40-50%.
- Towards the end of the proofing time, preheat the oven to 400°F and make the mixture for the white crosses on top of the buns.
- To make the cross mixture, combine the flour and water in a small bowl. Cut crosses into the risen dough. Using a piping bag (or Ziplock bag with the corner cut) pipe the cross mixture into the cuts in the dough.
- Bake in the oven for 20 mins.
- In the last few minutes of baking time, make the glaze for the buns. In a small microwave safe bowl, combine the milk and sugar. Microwave the milk for one minute, allowing the mixture to boil.
- Immediately on removal from the oven, use a pastry brush to glaze the hot cross buns.
- Turn the Hot Cross Buns out onto a cooling rack, and allow to cool slightly.
- Serve warm.





[…] 5. Traditional Gluten Free Hot Cross Buns Recipe […]