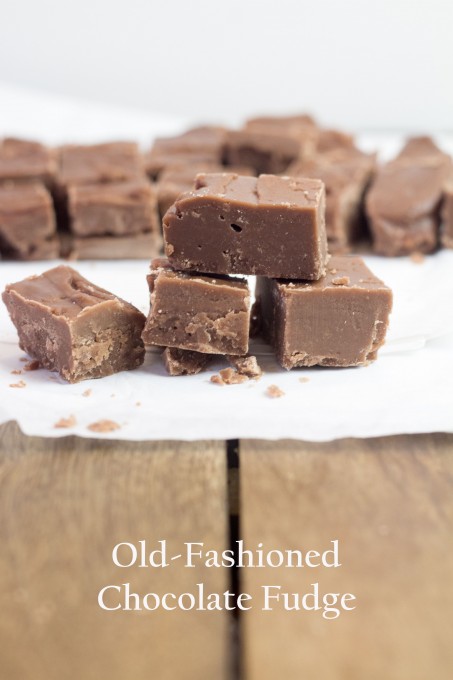
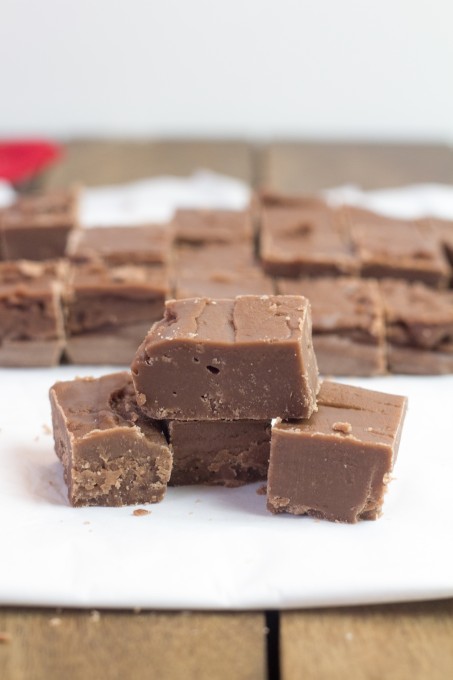
I have very fond memories of this Old Fashioned Chocolate Fudge being made each Christmas. Mum and Dad would work as a team. Mum would be responsible for the majority of the cooking, but Dad played his role by constantly wiping down the sides of the saucepan with water. I’m sure he didn’t mind helping as he benefited from the sweet delight that results from this recipe. I have called it “Old-Fashioned” as this recipe calls for the traditional candy making technique of bringing a sugar syrup to a soft ball, which is a cook’s word for boiling to 236°F. At this temperature, the candy will form a soft ball if you drop some into cold water.
You would think that after seeing fudge being made (and even helping make it), it would not be daunting, but for some reason I avoided making candy for years. I think it was the whole “bring the mixture to a certain temperature” that put me off. However, a few years ago, I bit the bullet and gave it a go. Now that I have tried it, making fudge is one of my favorite Christmas recipes. It’s probably one of my favorite things I make all year to be honest. That might be because I tend to make it late at night, with no distractions except for Christmas music ringing around my kitchen.
I’m quite chatty in this post – so I have put the main instructions in bold. All the other information either explains why I do a step or extra information about a step.
One of the key things to successful candy making is to be completely prepared before you start adding any ingredients.
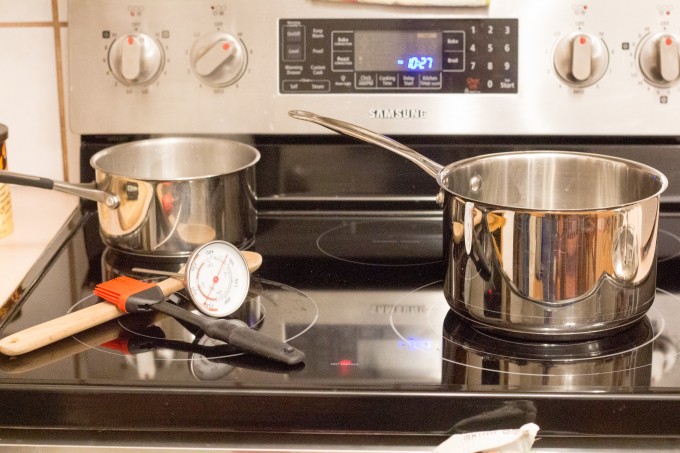
I get the following out ready:
- 1 small saucepan – for boiling water
- 1 candy thermometer
- 1 pastry brush
- 1 wooden spoon
- 1 large saucepan – for making the fudge
- 1 sifter
- 1 wooden board
- 1 loaf pan (8-9 inches)
- 1 spatula
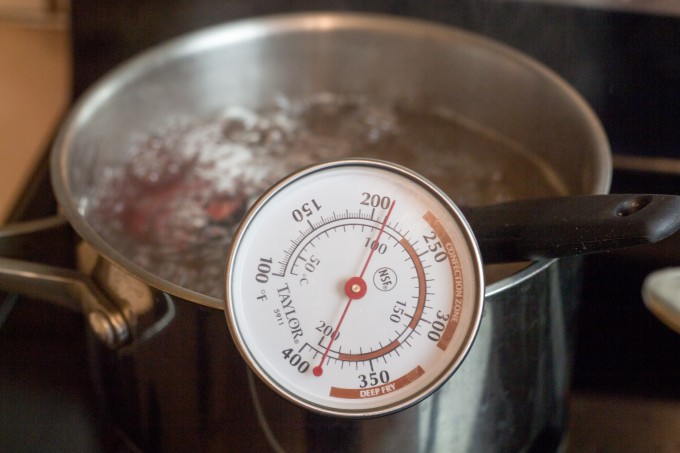
The first thing I do is bring the water to a boil. This is the best way to check that your candy thermometer is accurate. Water boils at 100°C or 212°F. If your thermometer does not get this reading in boiling water, you will need to adjust the temperature to which you boil your fudge. For example, if the boiling water reads 215°F – you will need to boil the fudge an extra 3°F higher, to 239°F. Most thermometers are correct – so hopefully you won’t have to do any math!
You will also use this water to wipe down the sides of the fudge saucepan, to remove sugar crystals. More about that soon!
Also, grease your loaf pan with butter before starting.
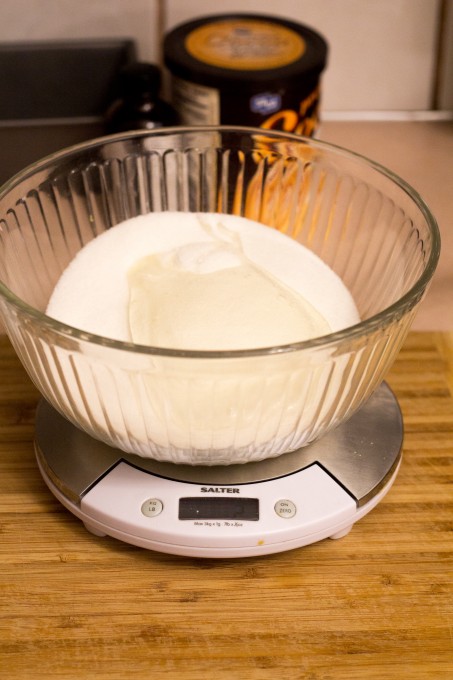
Now it’s time to prepare your ingredients. I pour 2 cups of sugar into a bowl, then weigh 2 ounces of glucose. The only reason I pour it over the sugar is because glucose is very sticky, and if it touches the side of the bowl, it will stick. I also sprinkle some of the sugar from the bowl over the glucose before tipping it into the saucepan.
I would highly recommend using glucose, not corn syrup, for the best results. Glucose contains only corn syrup, while corn syrup contains other ingredients such as high fructose corn syrup, salt and water. I purchase mine from Michael’s or JoAnn but many craft shops carry it. You can also buy it on Amazon.
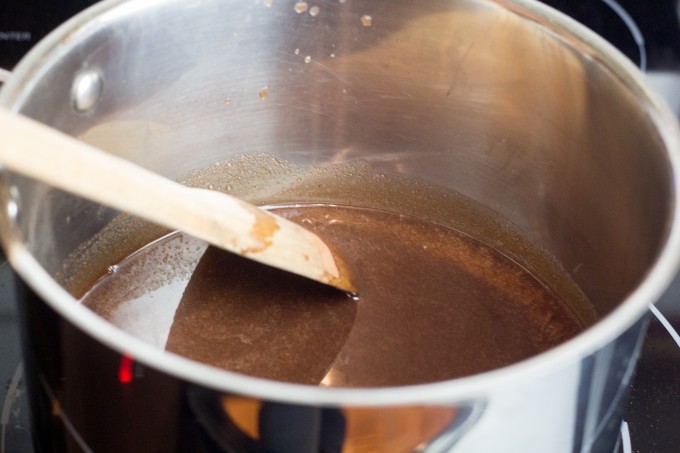
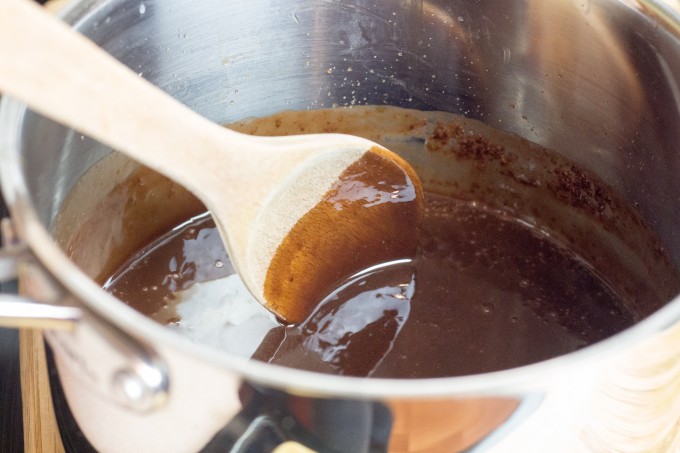
The next step is to add all the ingredients, except the vanilla, to the saucepan. Make sure you sift the cocoa – lumps are a pain to get out once you have started. Stir the mixture over a low heat, constantly, until all the sugar is dissolved. This is the longest step – it usually takes about 20 minutes. Do not allow the mixture to come to a boil during this step, otherwise the sugar will crystallize. You can see the sugar crystals on my saucepan in the photo below.
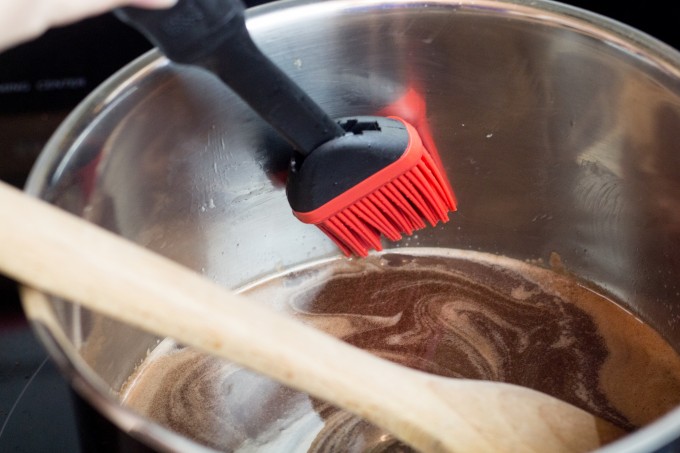
To avoid getting any sugar crystals in your fudge, you need to wipe down the sides of the saucepan with the pastry brush, dipped in the boiling water. (Remember that small saucepan we used to test the thermometer? That’s the one we are using now!)
If you have a helper, they can wipe down the sides while you continue to stir. I usually do this alone, so it’s OK to pause the stirring for a moment while you wipe the sides. This is not a once only step – keep on wiping down the sides all through this step.
It’s OK for water to get into the fudge.
To test if the sugar has dissolved, use your finger or a teaspoon to very carefully taste (it’s very hot) some fudge from the back of your spoon. Your tongue will be able to feel any crystals. I’m sure there is a safer way out there, but this is how I’ve always tested it. Feel free to let me know if there is a better way! Once the sugar has dissolved, it’s time to stop stirring.
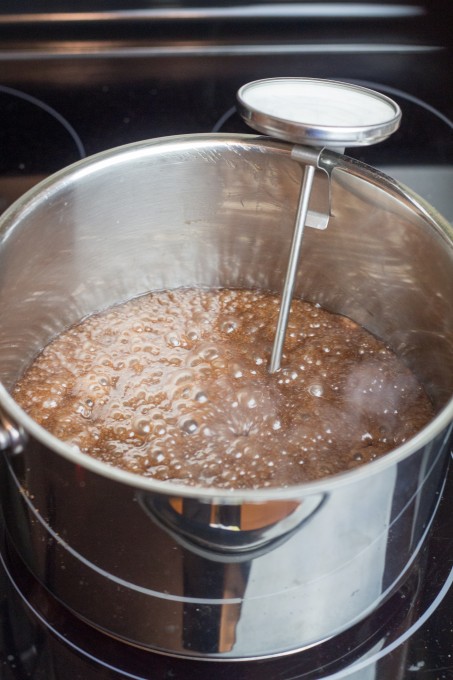
Increase the temperature to medium, place your thermometer in the fudge and wait. The fudge is going to come to a boil but you need it to bring the fudge to a soft ball temperature. Using the thermometer, this is 236°F or 113°C. If you don’t have a thermometer, you can test the fudge by dropping a small amount of fudge in cold water. Pick up the fudge in your fingers. If you can roll it into a soft ball, but it flattens when you squeeze it – it’s the correct temperature.
Once the fudge has reached the soft ball temperature of 236°F, it’s time to remove it from the hot plate. Very carefully remove the saucepan and place it on a wooden board to cool. It’s important to be careful, because movement can start the thickening process – and we need to wait about 10 minutes to let it cool slightly.
Once the fudge has cooled slightly (you should be able to touch the bottom of the saucepan but it should still be hot), it’s time to add the vanilla.
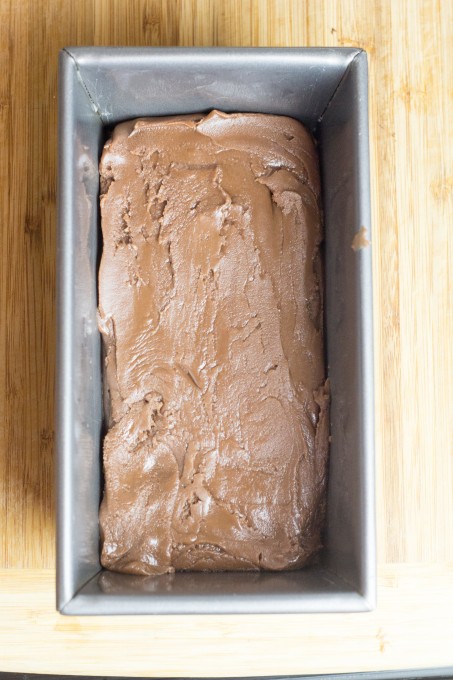
Pour in the vanilla and start beating the fudge with a wooden spoon. You need to beat the fudge for about 3-5 minutes. As soon as you see it start to thicken, quickly pour the fudge into the prepared loaf pan. Use a spatula to smooth the top of the fudge.
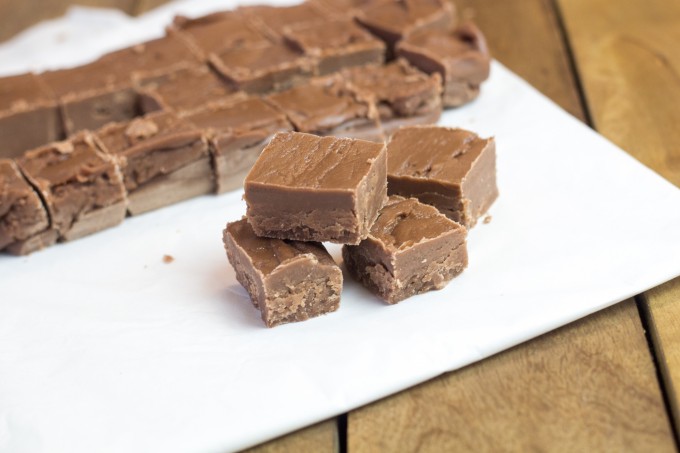
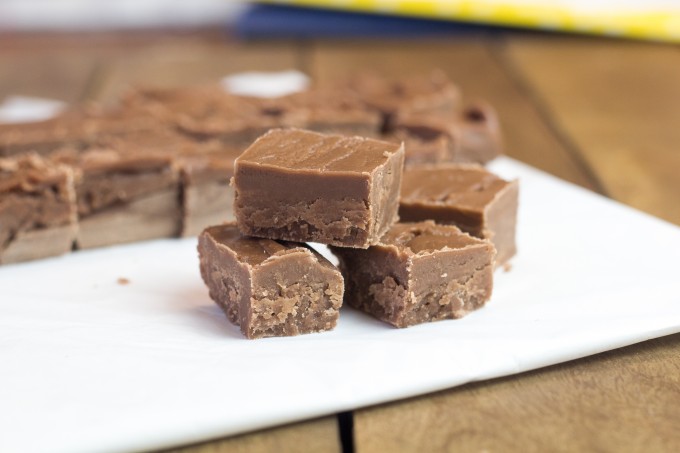
Once the fudge is cool, you can turn it out onto a cutting board and cut it into your desired size. Be warned – it’s rich – so you may want to keep your pieces small.
My love took this fudge into work and by lunch time I had an email requesting that I make it again because it was all gone. It really is worth the time.
- 2 cups sugar
- 2 oz glucose syrup
- 1 tablespoon butter
- ½ cup milk
- 1 tablespoon cocoa, sifted
- 1 teaspoon vanilla extract
- two saucepans
- wooden spoon
- candy thermometer
- pastry brush
- loaf pan
- wooden board
- sifter
- spatula
- Grease a loaf pan with butter and set aside. Have a cutting board ready to place hot fudge on.
- Boil a saucepan of water. Place the candy thermometer and pastry brush in the boiling water. Check the accuracy of your candy thermometer by confirming that the water is boiling at 212°F. If it's not accurate, you will need to adjust the temperature to which you boil the fudge.
- In a large bowl, add the sugar.
- Place the bowl with the sugar onto a kitchen scale, and add the glucose.
- Pour all the ingredients, except the vanilla, into a large saucepan.
- Over a low heat, stir the ingredients continuously until the sugar is dissolved. Do not allow the syrup to boil until all the sugar has dissolved. While you are stirring, use the pastry brush to brush down the sides of the saucepan with the boiling water to ensure there are no sugar granules. Any sugar granules will cause the fudge to crystallize during setting. Test to see if the sugar has dissolved by carefully tasting the syrup. This step takes about 20 minutes.
- Once the sugar has completely dissolved, take out the stirring spoon and bring the mixture to a boil. Bring the mixture to a soft ball (236°F) Do not stir during this step.
- Gently take the fudge off the heat, and stand on a board to cool. Let the fudge cool until you can barely touch the bottom of the saucepan (about 10 minutes)
- Add the vanilla. Beat the fudge with a wooden spoon until the mixture begins to thicken (about 3-5 minutes)
- Pour the fudge into a greased bar tin (9x3)
- Allow to cool on the bench. Tip the fudge onto a board, and cut into squares.

