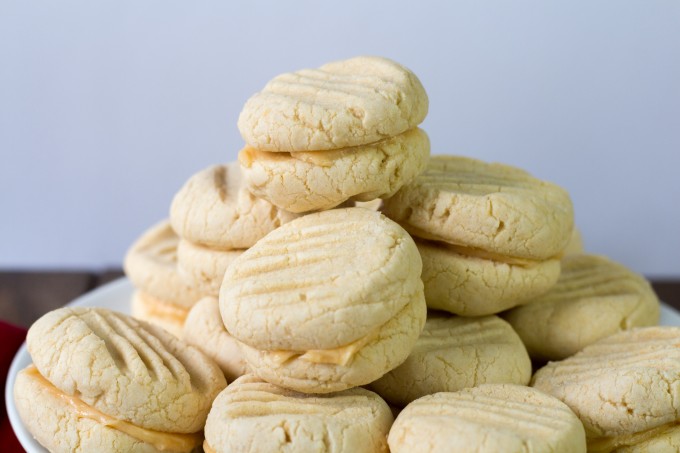
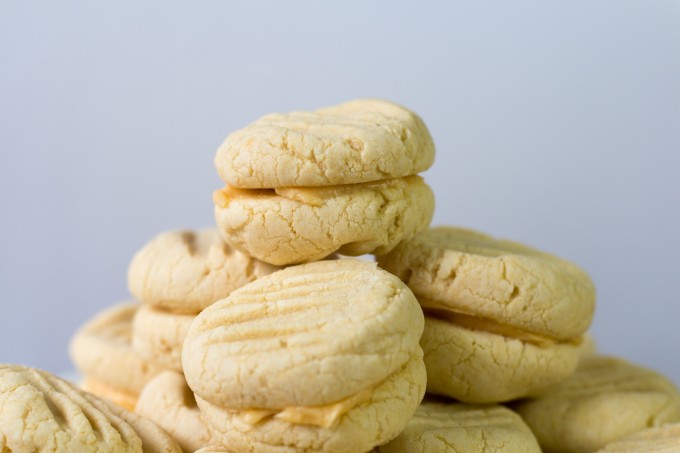
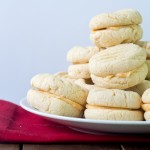
Custard Kisses are one of my favorite cookies. These little beauties just melt in your mouth – which is probably why they are called Melting Moments in some parts of the world. They are soft and addictive. I find that they are not overly sweet, but have a mild buttery taste that keeps you coming back for more. But beware, they will fill you up very quickly if you try eating too many. I know from experience!
This is another recipe that comes from my mum. She used to make these cookies every year for our local art show. The art show was a part of what I would now call a county fair, and all the local talent would either display or sell their best work. School children would enter their work too, and at the end of the show prizes would be awarded for the best works. Mum and I never had the skills to enter anything into the art show, but Mum definitely had the skills to cater for the show. So year after year, these Custard Kisses, plus lots of other little delicacies, would be cooked up in our kitchen for the big night. You could guarantee these would all be gone by the end. They are really good!
When we moved to America, and I was required to change all my recipes to gluten free, this was one of the first that I adapted. I was thrilled that it didn’t need any major changes – a simple substitution of flours worked perfectly. I first started out with my own flour blend from one of the classic Gluten Free recipe books by Betty Hagman. But these days I simply use which ever flour blend I have on hand. None have failed so far. Currently I am using Namaste Perfect Flour Blend.
I am confident to say that this recipe works as both a glutaginous and gluten free recipe. By the way, I know that glutaginous is not really a word, but it’s the word everyone in my family calls food with gluten in it! Glutinous is already a word and means sticky, like glue in texture so we can’t use that word. Also food with gluten in it can be glutinous – such as glutinous rice. I really think we need a word, as our family was sick of saying “food that has gluten in it”. I’m sure we are not the only ones. We pronounce it glu-tadge-in-ous.
One of the ingredients of this recipe is custard powder. It’s not a common ingredient in America, much to my dismay. However there is good news. In bigger cities it is pretty easy to find. Many larger supermarkets have an international section and sell custard powder. If you have a Cost Plus World Market in your area, they also stock custard powder. And of course there is Amazon. If you are already making an order at Amazon, you can buy the Custard Powder as an Add on item. The cheapest way it to buy it in bulk, but unless you know you are going to use it all in a year, it probably would not be worth the value.
I really, really encourage you to try this recipe despite the unknown ingredient. I would not be surprised if you discover that you really love custard. Custard powder is the easiest way to make custard, and it tastes wonderful on pies and fruit.
I know I keep on telling you that these cookies are really good – but as further proof, I entered a modified recipe into a gluten free competition years ago and got 3rd place for this recipe! The modification was simply using the brand name flour, and adding baking powder as Mum’s original recipe calls for self-rising flour. As most American households seem to only have all purpose flour on hand, I have changed all my recipes to use all purpose flour.
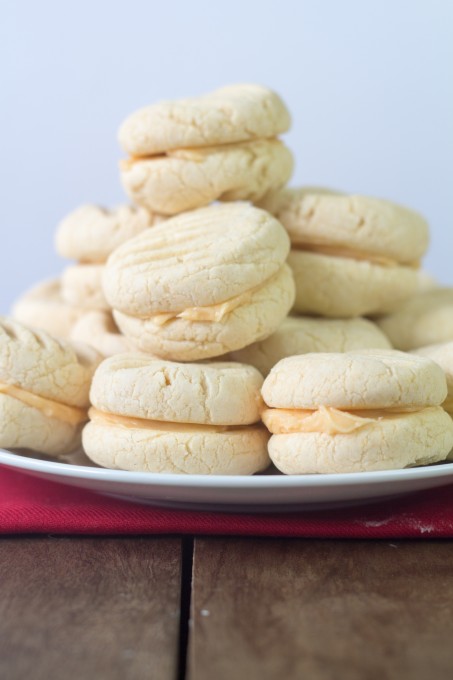
- 1 cup confectioners sugar
- 2 tablespoons sugar
- 8 oz butter
- 4 tablespoons milk
- ½ teaspoons salt
- 2 ½ cups all purpose flour
- ½ teaspoon baking powder
- ½ cup custard powder
- 3 oz butter
- 3 tablespoons custard powder
- 3 tablespoons powdered sugar
- Preheat the oven to 350° F and cover 2-3 baking trays with parchment paper.
- Cream the butter, icing sugar and sugar in a large mixing bowl. Scrape down the bowl with a spatula then add the milk and salt. Mix well.
- Sift the flour, baking powder and custard powder into the mixture. Mix until the ingredients are combined.
- Roll the mixture into small balls and place on the parchment paper. These cookies do not spread much, so they can be fairly close together.
- Lightly press the balls with a floured fork.
- Bake for 10-12 minutes.
- Turn out the cookies on a cooling rack and allow to cool completely.
- Blend the ingredients of the cream together.
- Use a knife to spread a thin layer of cream onto a cookie and then join together.

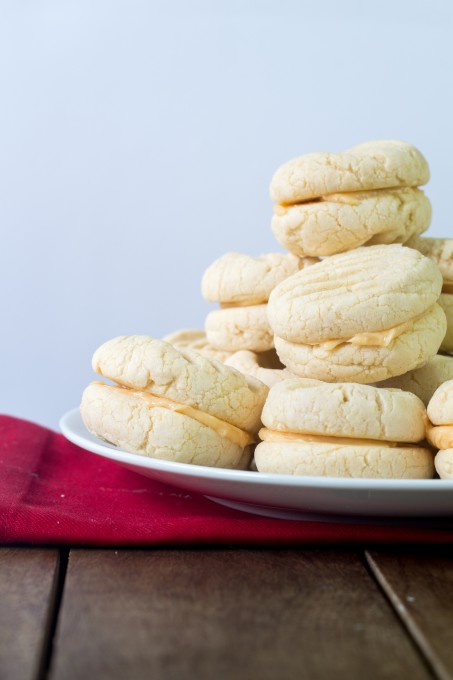
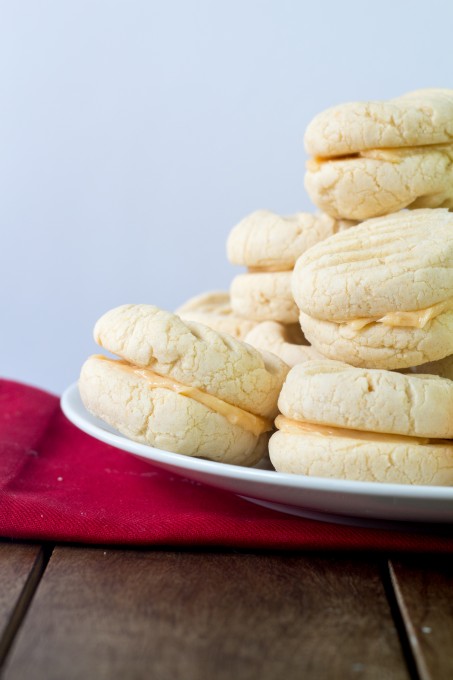
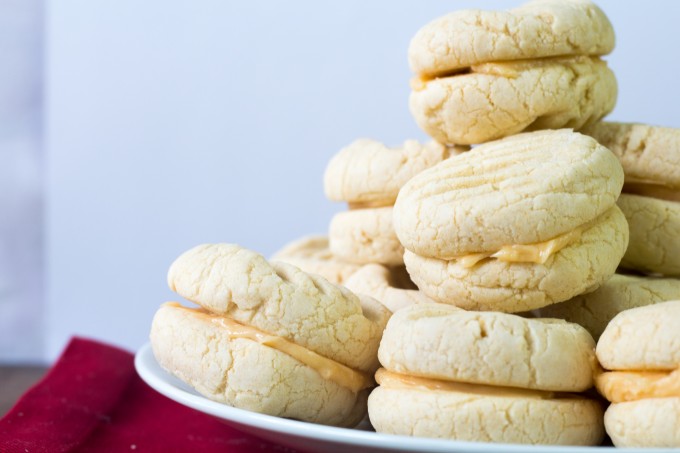

they look so yummy!
Thanks Dina. I’m a little biased but I think that they are 🙂
I can vouch for these – amazing. I loved it when my mum made a batch when I was a kid and of late when Emily made them for mother’s day girls night at church (she knows how much I love them). Try them – you won’t regret it!
Emily sounds like she’s becoming quite the cook. She and Liz should have a baking day when we are back home – Liz would love that!
Ooh so would Em & I would enjoy the results!!!
Yes, they are a favourite at church jumble sales and always loved by the family, though today they would be a rare treat due to the sugar and fat content!! A word of advice – only use butter for the cream as you need the firmer set of butter to keep them together.
Yes – they are not good for the waistline, and definitely not for anyone with diabetes. I would imagine that Dad hasn’t had one in years!
Looks good
These are definitely my favorites.